


How to Install a Water Meter in a Multi - Family Building
As a seasoned water meters supplier, I've witnessed firsthand the importance of a properly installed water meter in multi - family buildings. Not only does it ensure accurate water consumption measurement for each family unit, but it also contributes to overall water management and cost - effectiveness. In this blog, I'll share a step - by - step guide on how to install a water meter in a multi - family building.
Step 1: Planning and Preparation
Before diving into the installation process, thorough planning is essential. First, you need to understand the building's water system layout. This includes identifying the main water supply line, the branches leading to each family unit, and the existing plumbing infrastructure. A detailed blueprint of the building's plumbing can be extremely helpful at this stage.
Next, select the appropriate water meters for the multi - family building. Different types of water meters are available, such as mechanical water meters and Clamp On Ultrasonic Flow Meter. Ultrasonic flow meters, in particular, are becoming increasingly popular due to their high accuracy and non - intrusive installation in some cases. Consider factors like the expected water flow rate, the number of family units, and the budget when making your selection.
Gather all the necessary tools and materials for the installation. This typically includes pipe cutters, wrenches, soldering equipment (if dealing with copper pipes), Teflon tape, and, of course, the water meters themselves. Ensure that all tools are in good working condition and that you have an adequate supply of materials.
Step 2: Shut Off the Water Supply
Safety first! Before starting any work on the water system, shut off the main water supply to the building. Locate the main water valve, which is usually found near the point where the water line enters the building. Turn the valve clockwise until the water flow stops completely. It's also a good idea to open a few faucets on the lower floors to relieve any remaining pressure in the pipes.
Step 3: Prepare the Pipe for Meter Installation
Once the water supply is shut off, you need to prepare the pipes where the water meters will be installed. If the pipes are dirty or corroded, clean them thoroughly using a wire brush or a pipe cleaner. For new installations or when replacing old pipes, measure and cut the pipes to the appropriate length using a pipe cutter. Make sure the cuts are clean and straight to ensure a proper fit for the water meters.
If you're using copper pipes, you may need to solder the joints. Apply flux to the ends of the pipes and the fittings, and then use a soldering torch to heat the joint until the solder melts and fills the gap. Let the joints cool down completely before proceeding. For other types of pipes, such as PVC or PEX, use appropriate connectors and follow the manufacturer's instructions for joining.
Step 4: Install the Water Meters
Now it's time to install the water meters. Start by wrapping Teflon tape around the male threads of the meter connections to create a watertight seal. Carefully insert the water meters into the prepared pipe sections and align them properly. Use wrenches to tighten the nuts or bolts that secure the meters to the pipes, but be careful not to overtighten, as this could damage the meters or the pipes.
If you're installing multiple water meters for different family units, make sure to label each meter clearly to avoid confusion. You can use adhesive labels or a marker to indicate which meter corresponds to which unit.
Step 5: Test the Installation
After all the water meters are installed, it's time to test the system. Slowly turn on the main water valve to allow water to flow back into the pipes. Check for any leaks around the meter connections and the pipe joints. If you notice any leaks, turn off the water supply again and tighten the connections or re - apply the Teflon tape as needed.
Once the leaks are fixed, let the water run through the system for a few minutes to ensure that the meters are functioning properly. Check the meter readings to make sure they are registering the water flow accurately. You can compare the readings with a known volume of water (for example, by filling a bucket of a known size) to verify the accuracy. Ultrasonic Flow Meter Accuracy is a crucial aspect, and it's important to ensure that the meters meet the required standards.
Step 6: Finalize the Installation
After successful testing, make any final adjustments to the meters and the pipes. Secure any loose connections and tidy up the installation area. Label the main water valve clearly and provide instructions to the building management or the residents on how to shut off the water supply in case of an emergency.
It's also a good idea to keep a record of the meter installations, including the installation date, the meter serial numbers, and the initial readings. This information can be useful for future maintenance and billing purposes.
Step 7: Considerations for Special Situations
In some multi - family buildings, there may be special situations that require additional attention. For example, if the building has a high - rise structure, the water pressure may vary significantly between different floors. In such cases, you may need to install pressure - regulating valves in addition to the water meters to ensure accurate measurement and proper water distribution.
Another consideration is the presence of a water recycling or reuse system in the building. If this is the case, the water meters need to be installed in a way that can accurately measure both the incoming fresh water and the recycled water. You may need to consult with a professional plumber or an engineer to design an appropriate metering system.
Step 8: Maintenance and Monitoring
Once the water meters are installed, regular maintenance and monitoring are essential to ensure their long - term performance. Check the meters periodically for any signs of damage, such as cracked casings or malfunctioning displays. Clean the meters and the pipes as needed to prevent the buildup of debris and sediment.

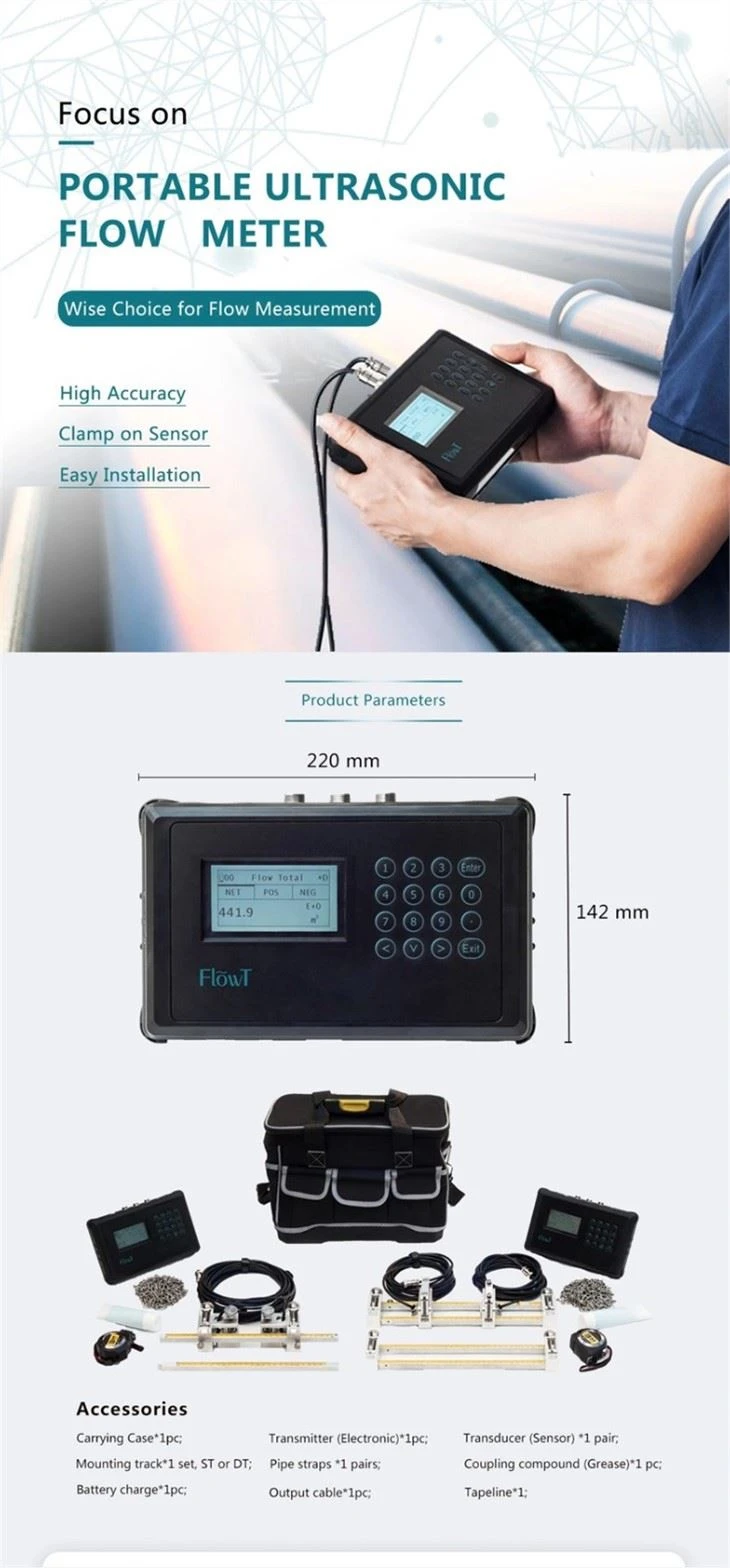
Monitor the meter readings regularly to detect any abnormal consumption patterns. This can help identify leaks or other issues in the water system early on. If you're using Flowt :: Clamp - on Ultrasonic Doppler Flowmeter (0.05 To 9 MPS), make sure to follow the manufacturer's instructions for calibration and maintenance.
Contact for Procurement
If you're in the process of installing water meters in a multi - family building or are planning for future installations, we're here to help. As a leading water meters supplier, we offer a wide range of high - quality water meters to meet your specific needs. Whether you're looking for traditional mechanical meters or the latest ultrasonic flow meters, we have the expertise and products to ensure a successful installation.
Feel free to reach out to us to discuss your requirements, get a quote, or ask any questions you may have about water meter installation and selection. We're committed to providing you with the best solutions and support for your water metering needs.
References
- "Plumbing Installation Handbook"
- Manufacturer's manuals for water meters and related equipment
- Industry standards and guidelines for water metering in multi - family buildings


